

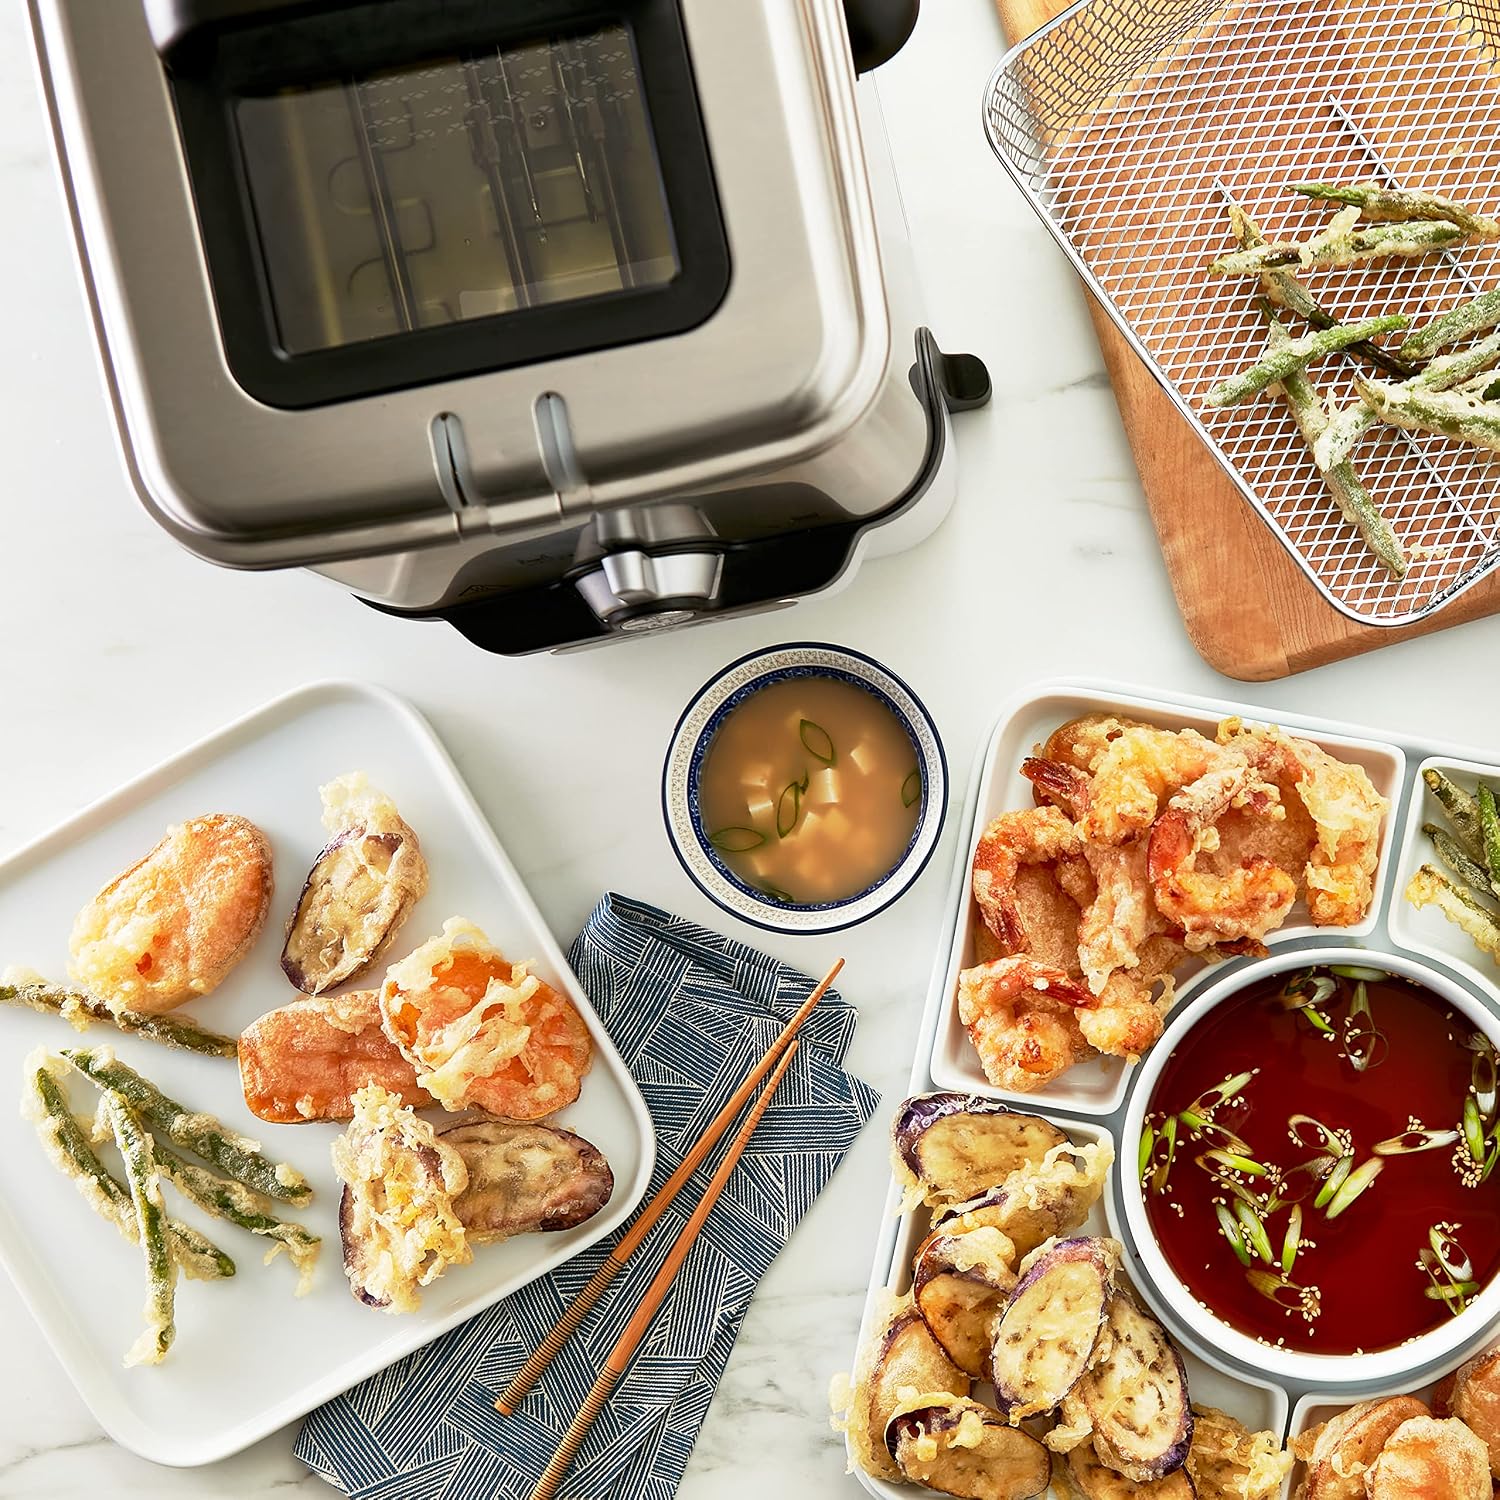
TL;DR — Unplug and let the oil cool completely, then drain and strain (to reuse) or dispose of the oil properly. Wipe out residue, wash the removable parts (basket, lid, and pot if removable) in hot soapy water, scrub off stuck-on grease, rinse, and dry thoroughly before reassembling. Never immerse the electrical heating unit in water. Cool oil and gentle degreasing are the keys. The HomeWhisk team compiled this from care guidance and aggregated feedback. For picks, see our best deep fryer guide.
The HomeWhisk editorial team researches kitchen equipment by analyzing manufacturer specifications, cleaning guidance, and aggregated user reviews from major retailers and cooking communities. This guide reflects established cleaning principles, not personal testing.
A deep fryer gets greasy fast, and cleaning it properly keeps it working, prevents rancid oil smells, and makes your fried food taste fresh. Here’s the step-by-step. For choosing a fryer, see our best deep fryer guide.
Before You Start: Cool and Remove the Oil
The first and most important step is dealing with the oil safely — never clean a fryer with hot oil in it.
1. Unplug the fryer and let the oil cool completely. This is essential for safety — cleaning hot oil risks serious burns. Let the oil cool fully to room temperature (this can take an hour or more). Never rush this step or move a fryer with hot oil.
2. Remove the oil.
- To reuse it: once cool, strain the oil through a fine mesh strainer or cheesecloth into a clean container to remove food particles, then store it sealed in a cool, dark place (see our how-to-use-a-deep-fryer guide for oil reuse).
- To dispose of it: cool it, seal it in a container (like its original bottle or a sealed jug), and put it in the trash or take it to a cooking-oil recycling point. Never pour oil down the drain — it solidifies and clogs pipes, and can damage plumbing.
3. Wipe out excess oil and residue from the pot with paper towels while it’s empty — removing the bulk of the grease first makes washing much easier.
Getting the oil out safely and properly (cooled, reused or disposed of correctly) is the crucial first stage. Only after the oil is removed and the fryer is cool do you move to washing. Our best deep fryer guide covers fryers with easy-clean designs.
Cleaning the Parts
With the oil out, clean the fryer’s components. The method depends on whether parts are removable.
Identify removable vs fixed parts: most deep fryers have a removable basket and lid, and many have a removable oil pot/pan, while the heating element and electrical base are usually fixed and must NOT be submerged.
For removable parts (basket, lid, removable pot): 1. Wash them in hot soapy water with a sponge or brush. 2. Scrub off stuck-on grease and food — for baked-on residue, soak the parts in hot soapy water first to loosen it, then scrub. A non-abrasive scrubber and dish soap (a degreasing dish soap helps) handle most grease. 3. For stubborn grease, a paste of baking soda and water or a soak in hot water with dish soap works well. 4. Rinse thoroughly and dry completely (especially important to prevent rust on metal parts and before adding new oil). 5. Some parts may be dishwasher-safe — check your manual.
For the fixed heating unit / electrical base (NEVER submerge): 1. Wipe it down with a damp cloth or sponge with a little dish soap to remove grease — never immerse it in water or put it under the tap (it’s electrical). 2. Wipe the heating element gently with a damp cloth to remove grease buildup (when cool and unplugged); avoid getting water into electrical parts. 3. Dry any wiped areas.
For the interior pot (if fixed/non-removable):
- Wipe out residual oil, then wash the interior with hot soapy water and a sponge (being careful not to get water into the heating element/electrical parts), scrub off grease, and wipe/dry thoroughly. Some fixed-pot fryers you can carefully fill with hot soapy water to soak, then empty and wipe — check your manual.
Wipe the exterior with a damp soapy cloth to remove grease splatter, then dry.
The key distinction: wash removable parts freely in soapy water, but only wipe (never submerge) the electrical heating unit. Our best deep fryer guide covers models with removable, easy-clean parts.
Degreasing Tips and Maintenance
Deep fryers are all about grease, so knowing how to cut it and maintain the fryer keeps it clean and lasting.
Cutting through grease:
- Hot water and degreasing dish soap is the workhorse — grease dissolves better in hot water.
- Soak stuck-on grease first (in hot soapy water) rather than scrubbing hard — soaking loosens baked-on residue.
- Baking soda paste (baking soda + water) gently scrubs off stubborn grease without harsh chemicals.
- Vinegar can help cut grease and remove odors on parts (wipe or soak, then rinse).
- Avoid abrasive scrubbers on nonstick pots (they scratch); use soft sponges. Bare metal pots tolerate more scrubbing.
Removing odors: if the fryer smells of old oil, wash thoroughly with soap, wipe with a little vinegar solution, and dry well. Storing it clean and dry prevents rancid smells.
Maintenance for longevity:
- Clean after each use (or every few uses) rather than letting grease build up — old grease bakes on, goes rancid, and gets harder to remove.
- Change the oil regularly (don’t reuse degraded oil — see our deep-fryer use guide) to keep food tasting fresh and reduce residue.
- Dry all parts completely before reassembling and storing (prevents rust and mold).
- Store clean and dry, with the fryer empty (don’t store oil in it long-term).
- Check the manual for model-specific cleaning (some have dishwasher-safe parts, oil-filtration systems, etc.).
The takeaway: cool and remove the oil first, wipe out the bulk of the grease, wash removable parts in hot soapy water (soaking stubborn grease, using baking soda for tough spots), only wipe the electrical unit, and dry everything thoroughly. Clean regularly to prevent baked-on, rancid grease. Our best deep fryer and best air fryer guides cover the appliances.
Frequently Asked Questions
How do you clean a deep fryer?
Unplug it and let the oil cool completely, then drain and strain the oil (to reuse) or dispose of it properly. Wipe out excess grease with paper towels, then wash the removable parts (basket, lid, and pot if removable) in hot soapy water, soaking and scrubbing off stuck-on grease. Rinse and dry thoroughly. Only wipe the electrical heating unit with a damp soapy cloth — never submerge it. Wipe the exterior, dry everything completely, and reassemble. Clean regularly to prevent baked-on, rancid grease.
How do I dispose of deep fryer oil?
Let the oil cool completely, then seal it in a container (its original bottle or a sealed jug) and put it in the trash, or take it to a cooking-oil recycling point (many communities have them). Never pour oil down the drain or toilet — it solidifies, clogs pipes, and damages plumbing. If the oil is still good, you can strain and store it to reuse a few times instead of disposing. Proper disposal (sealed in the trash or recycled) protects your plumbing and the environment.
Can I put deep fryer parts in the dishwasher?
Some removable parts (basket, lid, and removable pot) may be dishwasher-safe — check your fryer’s manual, as it varies by model. The electrical heating unit and base are never dishwasher-safe or submersible. When dishwasher-safe parts are available, the dishwasher handles grease well, though hand-washing in hot soapy water is always a safe option. Never put the electrical heating element or base in the dishwasher or water. Check the manual to know which parts are dishwasher-safe for your specific fryer.
How do I get baked-on grease off a deep fryer?
Soak the greasy parts in hot soapy water first to loosen the baked-on residue, then scrub with a sponge or brush — soaking does most of the work. For stubborn grease, apply a paste of baking soda and water and gently scrub, or use hot water with a degreasing dish soap. Vinegar can also help cut grease and odors. Avoid abrasive scrubbers on nonstick surfaces (they scratch). Cleaning promptly after use, before grease bakes on, makes this much easier than letting it build up.
Can I submerge my deep fryer in water?
No — never submerge the electrical heating unit or base of a deep fryer in water, as it contains electrical components and doing so is dangerous and will damage it. Only removable parts without electrical components (basket, lid, and removable oil pot) can be washed in water or the dishwasher. The fixed heating element and base should only be wiped with a damp soapy cloth, keeping water out of electrical parts. Always check which parts are removable and safe to submerge in your fryer’s manual.
How often should I clean my deep fryer?
Clean it after each use, or at least every few uses, rather than letting grease accumulate. Old grease bakes on, goes rancid (affecting food flavor and creating odors), and becomes much harder to remove over time. At minimum, wipe it out and clean the basket after each use, and do a thorough clean (washing all removable parts) regularly, especially when changing the oil. Regular cleaning keeps the fryer working well, your food tasting fresh, and prevents the buildup of hard, rancid grease that’s difficult to clean.
Related buying guides: best blender, best toaster oven and best instant pot.
The Bottom Line
Cleaning a deep fryer starts with safety: unplug it, let the oil cool completely, then strain and store the oil to reuse or dispose of it properly (sealed in the trash or recycled — never down the drain). Wipe out the bulk of the grease, then wash the removable parts (basket, lid, removable pot) in hot soapy water, soaking and using a baking-soda paste for stubborn grease. Only wipe the electrical heating unit — never submerge it. Dry everything thoroughly before reassembling, and clean regularly so grease doesn’t bake on and go rancid. See our best deep fryer and best air fryer guides.

Pros & Cons
Pros
- Oil filtration system saves money by extending oil life up to three times longer than manual disposal methods.
- 1700-watt heating element recovers temperature quickly after adding cold food, keeping fried items crispy instead of greasy.
- Large viewing window lets you monitor browning without lifting the lid and losing heat or risking splatter.
Cons
- The 3.5-liter oil capacity requires a full bottle of oil to reach the minimum fill line, which is a higher upfront cost than smaller fryers.
- The footprint measures roughly 15 inches wide, taking up significant counter space that may not fit in compact kitchens.
Details
This is an electric deep fryer designed to solve the two biggest complaints about home frying: messy oil cleanup and wasted oil. The built-in filtration system pumps used oil into a sealed storage box automatically.
The 1700-watt heating element maintains temperature even when you add cold food, preventing oil from cooling down and making your fried chicken greasy. The adjustable thermostat covers 300F to 375F, which handles everything from delicate tempura to thick-cut fries.
The body is brushed stainless steel with a 3.5-liter enameled steel frying bowl. The unit weighs approximately 9 pounds and measures 15 x 12 x 10 inches. The basket is chrome-plated steel with a comfort-grip handle.
The oil filtration system works best with thinner oils like canola or vegetable. Thicker oils like coconut or solidified fats can clog the drainage system and require manual cleaning.
Best for households that fry food at least once a week and want to cut down on oil costs and cleanup labor.
How to Use
Pour oil up to the maximum fill line inside the bowl, then plug in the unit and set your target temperature using the dial. The indicator light turns off when the oil reaches the set temperature, which takes about 10 minutes from a cold start.
Load food into the basket without overfilling, then lower it slowly into the hot oil using the handle. Keep the lid closed during frying to contain splatter. Use the viewing window to check browning progress.
After frying, lift the basket and let excess oil drip back into the bowl. Turn off the unit and wait 20 minutes for the oil to cool slightly. Press the filtration button to pump the oil into the storage container. Once empty, remove the bowl and basket for washing.

Pros & Cons
Pros
- Massive 22.6-liter capacity handles enough food for large families or small commercial kitchens in one session.
- Dual heating elements bring oil to temperature faster than single-element fryers in this price range.
- Stainless steel construction resists corrosion from frequent oil exposure better than coated aluminum models.
Cons
- Requires two separate 110V outlets to run both heating elements simultaneously, limiting placement options in kitchens with few available sockets.
- No built-in oil filtration system means you must manually strain and store oil between uses for extended oil life.
Details
This countertop electric fryer solves the problem of underpowered home fryers that struggle with back-to-back batches. Its 22.6-liter oil capacity and 3400W total output keep temperature stable even when you drop cold food in.
The dual 1700W heating elements work independently, so you can run one for smaller jobs or both for full-power operation. Temperature control spans 140°F to 390°F, covering everything from gentle frying to high-heat searing.
Stainless steel construction throughout the basin and exterior. Weighs enough to stay planted during use. Comes with three baskets: one large 10.8-quart for bulk frying and two 3.9-quart baskets for separating foods or portion control.
The dual-plug design means you cannot run both elements from a single standard outlet without tripping the breaker. Plan your kitchen setup accordingly or accept longer heat-up times using one element.
Best for home cooks who fry frequently for large groups or small food businesses needing reliable countertop capacity without the cost of a floor-standing commercial unit.
How to Use
Fill the oil basin to the minimum line before powering on. Plug each heating element into a separate 110V outlet to avoid overloading a single circuit. Set your target temperature using the rotary dial and wait for the indicator light to signal readiness.
Load food into the appropriate basket size. Lower slowly to prevent oil splatter. Hang the basket on the built-in hooks after frying to let excess oil drain back into the tank instead of onto your food or counter.
After use, let the oil cool completely before attempting to clean or move the unit. Detach all baskets and the basin for washing. The heating head stays attached and should be wiped down carefully without submerging in water.

Pros & Cons
Pros
- Oil filtration system eliminates the hassle of pouring and storing used oil, and the sealed container prevents kitchen odors.
- Stainless steel construction and dishwasher-safe parts make cleanup faster and ensure the fryer lasts longer than cheaper plastic models.
- Large 3.5L capacity works for family-size batches without needing to fry in multiple rounds like smaller 2-liter fryers.
Cons
- At 1700W, it takes longer to heat oil compared to higher-wattage commercial fryers, adding 5-10 minutes to preheat time.
- The oil filtration system adds bulk, making this fryer larger than basic models and harder to store in tight kitchen cabinets.
Details
This is a 3.5-liter electric deep fryer with a built-in oil filtration system that drains, filters, and stores used oil automatically. It solves the two biggest problems with home frying: oil waste and cleanup mess.
The adjustable thermostat reaches 300°F to 375°F with precise control, so delicate fish stays tender while frozen fries get crispy. The 2.65-pound capacity handles six servings of chicken wings, fish fillets, or doughnuts in one batch.
Stainless steel construction throughout, from the frying pot to the basket. The unit measures compact enough for countertop use but stores more oil than budget fryers. Dishwasher-safe components include the basket, inner bowl, lid, and oil storage box.
The oil filtration system adds weight and takes up more storage space than basic fryers without filtration. If you rarely fry or have limited cabinet space, a simpler model may suit you better.
Best for home cooks who fry weekly and want to reuse oil without the mess of manual filtering and pouring.
How to Use
Fill the oil reservoir to the marked line, set your temperature, and wait for the ready light. Lower the basket with food into the preheated oil, lock the lid, and monitor through the viewing window.
When frying is done, lift the basket using the cool-touch handle and let excess oil drain back into the pot. After the oil cools, press the filtration button to drain oil into the sealed storage box automatically.
Remove the basket, bowl, lid, and oil box and place them in the dishwasher. Wipe the exterior with a damp cloth. The filtered oil stays fresh in the sealed box for your next frying session.
Pros & Cons
Pros
- Oil filtration system saves money by extending oil life up to three times longer than manual disposal methods.
- 1700-watt heating element recovers temperature quickly after adding cold food, keeping fried items crispy instead of greasy.
- Large viewing window lets you monitor browning without lifting the lid and losing heat or risking splatter.
Cons
- The 3.5-liter oil capacity requires a full bottle of oil to reach the minimum fill line, which is a higher upfront cost than smaller fryers.
- The footprint measures roughly 15 inches wide, taking up significant counter space that may not fit in compact kitchens.
Details
This is an electric deep fryer designed to solve the two biggest complaints about home frying: messy oil cleanup and wasted oil. The built-in filtration system pumps used oil into a sealed storage box automatically.
The 1700-watt heating element maintains temperature even when you add cold food, preventing oil from cooling down and making your fried chicken greasy. The adjustable thermostat covers 300F to 375F, which handles everything from delicate tempura to thick-cut fries.
The body is brushed stainless steel with a 3.5-liter enameled steel frying bowl. The unit weighs approximately 9 pounds and measures 15 x 12 x 10 inches. The basket is chrome-plated steel with a comfort-grip handle.
The oil filtration system works best with thinner oils like canola or vegetable. Thicker oils like coconut or solidified fats can clog the drainage system and require manual cleaning.
Best for households that fry food at least once a week and want to cut down on oil costs and cleanup labor.
How to Use
Pour oil up to the maximum fill line inside the bowl, then plug in the unit and set your target temperature using the dial. The indicator light turns off when the oil reaches the set temperature, which takes about 10 minutes from a cold start.
Load food into the basket without overfilling, then lower it slowly into the hot oil using the handle. Keep the lid closed during frying to contain splatter. Use the viewing window to check browning progress.
After frying, lift the basket and let excess oil drip back into the bowl. Turn off the unit and wait 20 minutes for the oil to cool slightly. Press the filtration button to pump the oil into the storage container. Once empty, remove the bowl and basket for washing.

Pros & Cons
Pros
- Heats oil quickly and recovers temperature fast between batches, so you can fry multiple servings without long waits.
- Included scoop lifts, drains, and serves food directly from fryer to plate, eliminating extra dishes.
- Heavy cast aluminum construction withstands years of high-heat use without warping or degrading.
- Swing-up handle makes the unit easy to carry from storage to counter and back without awkward gripping.
Cons
- Not dishwasher safe and cannot be immersed in water, requiring hand washing only.
- Four-serving capacity means cooking in multiple batches for larger families or gatherings.
Details
The Presto FryDaddy is a countertop electric deep fryer designed for kitchens with limited space. It solves the oil waste and storage problems of traditional deep fryers by requiring only 4 cups of oil to fry four servings.
Automatic temperature control maintains the ideal frying heat without any dials or settings, so foods like chicken, shrimp, and french fries cook evenly every time. The fast preheat and quick oil recovery between batches keep cooking moving efficiently.
Heavy cast aluminum construction with PFAS-free ceramic nonstick surfaces inside and out. Measures 7 inches in diameter with a swing-up handle for transport. Includes a heat-resistant scoop for lifting and draining foods.
Not dishwasher safe and must be hand washed without full immersion. The 4-cup oil capacity limits batch sizes compared to standard fryers.
Best for singles, couples, and small families in apartments or kitchens with minimal counter and storage space who want fried foods without maintaining a large appliance.
How to Use
Add 4 cups of cooking oil to the fryer and plug it in. Wait 15 minutes for the oil to reach frying temperature. No temperature dial exists because the unit maintains optimal heat automatically.
Add food in small batches to avoid overcrowding. Use the included scoop to stir occasionally and lift foods when golden brown. Drain briefly over the oil before serving.
After cooking, unplug and let oil cool completely. Snap the lid on to store oil inside for next use, or strain and dispose. Wipe interior and exterior surfaces with a damp cloth. Never submerge the unit in water or place in a dishwasher.
About These Recommendations
The technique above is the point of this guide; the products are here because they help. We have not tested them ourselves — we did not buy or use this gear. The recommendations come from comparing specifications and materials against the patterns in verified owner reviews, so treat them as a shortlist worth researching rather than a verdict from our own kitchen.
Availability and prices change often, so check the current listing before buying. We earn a commission on purchases made through links on this page, which never affects what we recommend.


Write Your Review
No reviews yet. Be the first to share your experience!